How to use phpMyAdmin - go in and export and import data
 4593
4593What is phpMyAdmin? This is a web application that allows you to work with databases (DB) MySQL through a user-friendly interface. In fact, it executes SQL queries to the database server for the user - he just clicks a command, and this application generates the required query and executes it. How to use phpMyAdmin ? First of all, you need to log into this system, because work with it is possible only for logged in users.
How to log into phpMyAdmin
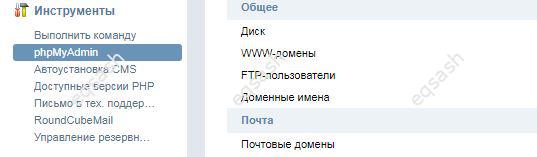
Everything is simple, for this you first need to find out the address at which this web application is available. You can find it out in the hosting control panel in the database section - there you need to find the mention of phpMyAdmin and follow the link.
As a result, a separate window should open, in which you may need to enter data to connect to the database . This data can be found in the letter from the hosting during registration, in the hosting control panel or in the file with your CMS settings.
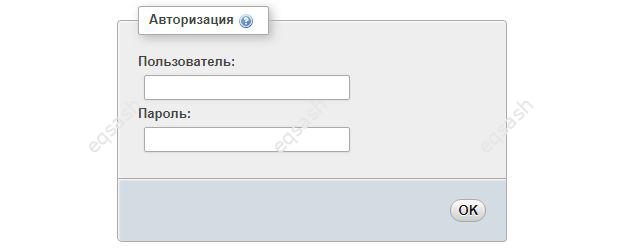
But often there is auto-login to phpMyAdmin , as the hosting passes the access token by the link.
How to export to phpMyAdmin
Login to phpMyAdmin is usually done to perform a specific operation. For example, to export or import a database, or databases from the server. How to do it? There are special menu items for this in the top panel of phpMyAdmin. The operation depends on the place where the buttons are pressed, for example, if you press while the database is open, you will be prompted to perform the operation only for the selected database, and if you click on the main one, you will be prompted to perform the operation for all or selected databases. The same is true for tables. Brief summary:
- export of all databases - press export on the main page;
- export of a specific database - open the required database, wait until its tables are displayed and press export;
- export a single table - open this table and click export.
After clicking on export, a window will appear in which you can specify the required phpMyAdmin export parameters . Typically these are: " Export Method ", " Format ", " Output ". You can simply click the button at the bottom of this page - a file will be generated and loaded, which is the export file.
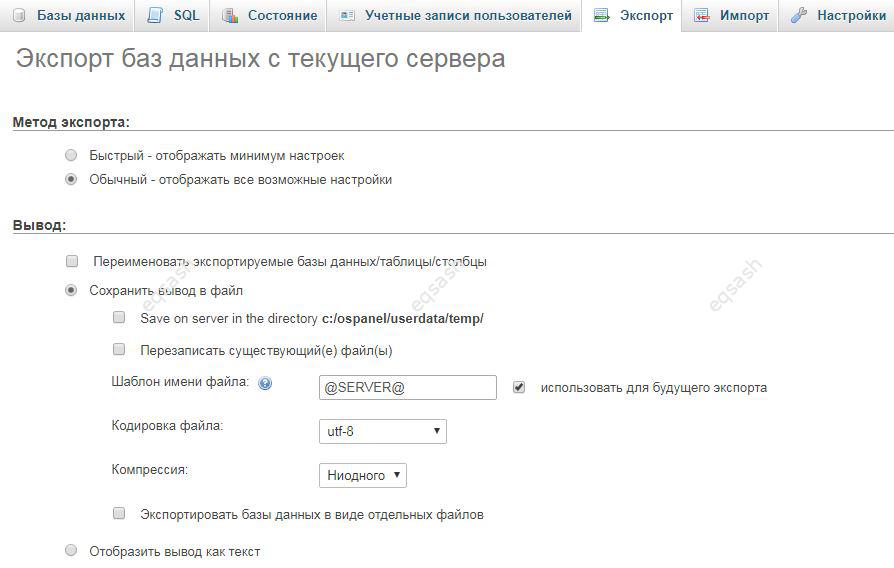
But sometimes you may need not to use the default export parameters, but to customize them for yourself. To do this, select the normal export method instead of the fast one. The settings will be shown, their content depends on what is being exported. For example, you can:
- select export entities (database, tables, etc.) - then only selected elements will be exported;
- in the subsection " Output " specify encoding and compression (zip, gzip) - the export file will be compressed and placed in the archive;
- in the subsection " Format options " select how to export - structure only, data only or structure and data;
- in the subsection " Object creation parameters " specify the required expressions;
- in the subsection " Data Generation Options " specify various settings that may be useful, etc.
After specifying the settings, it remains to click the "Next" button or similar at the bottom of the page - the file will be loaded. This file should be saved and in the future it can be used for various operations, for example, for database recovery . Also, this file can be edited manually if you understand SQL syntax. After all, the resulting file contains ordinary requests to the database server - thus, the data is recreated in the form in which it is written in the file.
How to import into phpMyAdmin
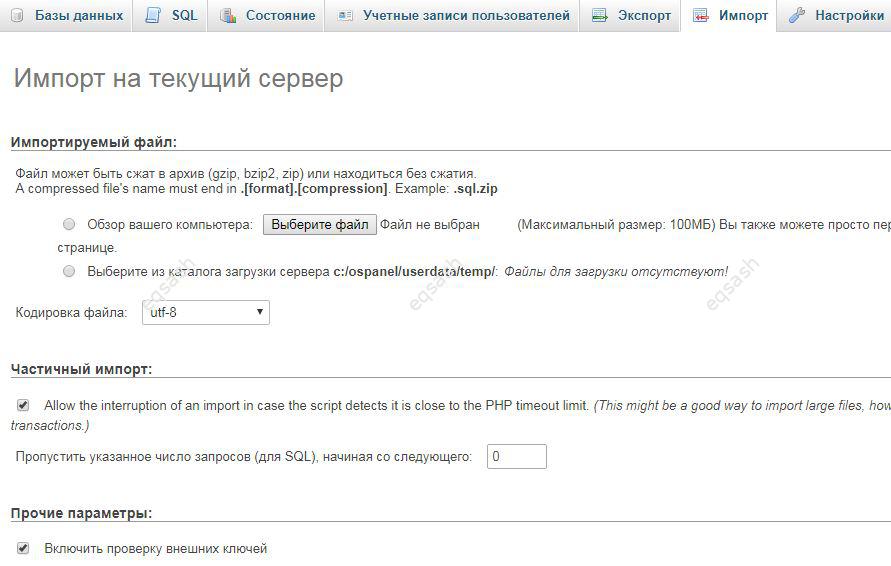
Finally, the resulting file can be used for import. To do this, open the entity and then, being in the right place, click the import button at the top of the page. A window will open in which you will be asked to select a file with data on your PC, it can also be placed in a special directory on the server. As in the case of export, you can specify some phpMyAdmin import settings - then click the "Next" button and wait for the operations.
If successful, the message will be shown in green, otherwise errors will be shown in red. If there are errors, it is better to delete the created objects, troubleshoot and do the operation again. Otherwise, the data can only be partially imported.
The phpMyAdmin export and import operations can take time, depending on the amount of data. Therefore, it is extremely important to take care of the correct hosting settings in advance so that long operations are not interrupted.Thus, it was briefly reviewed how to use phpMyAdmin - or rather, how to enter phpMyAdmin, how to do export and import data.
Latest articles
- 03.04.24IT / Уроки PHP Уроки простыми словами. Урок 3. Все операторы PHP с примерами, с выводом работы кода на экран.
- 02.04.24IT / Уроки PHP Уроки простыми словами. Урок 2. Типы данных в PHP с примерами.
- 02.04.24IT / Уроки PHP Уроки простыми словами. Урок 1. Коротко о языке веб-программирования PHP. Основы синтаксиса.
- 09.11.23IT / Database Errors when migrating from MySQL 5.6 to 5.7 and how to fix them - database dump import failed with an error or INSERT does not work. Disabling STRICT_TRANS_TABLES strict mode or using IGNORE
- 09.07.22IT / Misc Convert office files DOC, DOCX, DOCM, RTF to DOCX, DOCM, DOC, RTF, PDF, HTML, XML, TXT formats without loss and markup changes
Popular sections
Eqsash (Tools)

Amessage (Communication)