User
Table of contents
This entity provides management of all users of the system and is included in the kernel - the ability to register, log in and differentiate access rights is mainly implemented. When installing the system, a main user is created, which is not limited in access rights - it has an identifier equal to 1 (user id = 1) and receives the "Administrator" role (admin).< /p>
Administration
To go to the main entity management page, click on the corresponding link in the management menu - as a result, the following page will be displayed (/admin/user):

- Add - adding a user, the form is identical to the registration and editing forms (possibly with some differences);
- Roles - role management;
- Access - access control;
- ID - user ID;
- Roles - assigned user roles;
- Login - user login;
- Email - user email;
- Active - account activation status (is email confirmed);
- Name - user's display name;
- Created - registration date;
- Actions - changing (editing) and deleting a user.
To role management users, you need to go to the corresponding page. By default, three roles are created in the system (/admin/user/roles):
- admin - administrator;
- user - authorized user;
- anonym - an anonymous user.
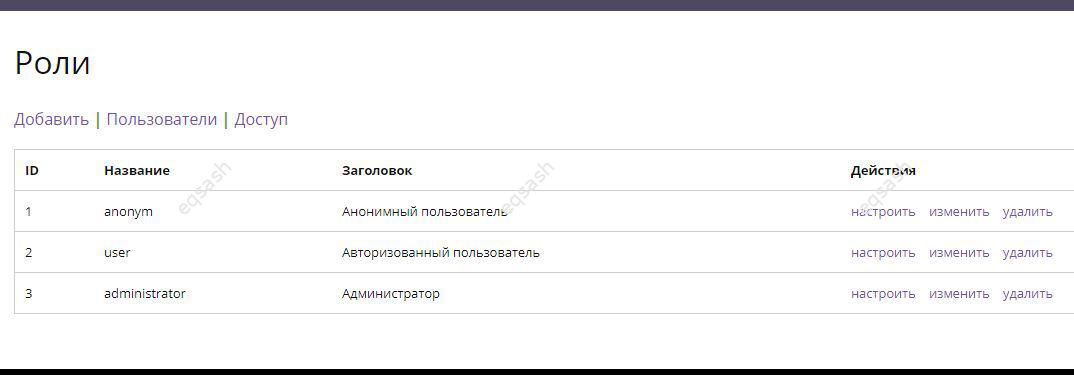
- Add - adding a role;
- Users - return to the user management page;
- Access - access control;
- ID - role ID;
- Name - machine name of the role;
- Title - display title of the role;
- Actions - operations for setting (managing fields), changing and deleting roles are available.
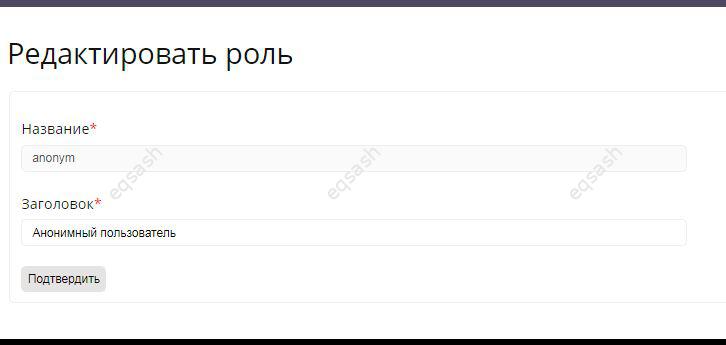
The edit role user form is similar to the add form (/admin/user/roles/edit/*, where * is the role identifier):
Access control is done on a dedicated page. Access to various sections of the site requires rights that are managed by the administrator. The rows for the access rights table at the program level are provided by the kernel, base and user entities (usually modules). To enable access, check the box next to the desired address and role, to disable it, uncheck the box. After the done manipulations, you will need to save the changes (/admin/user/permissions):
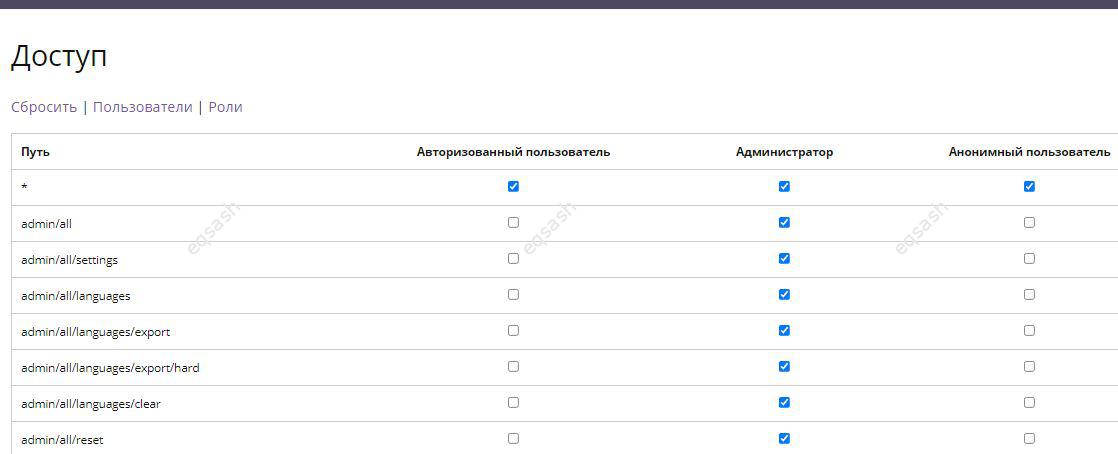
- Reset - set default access settings;
- Users - return to the user management page;
- Roles - return to the user roles management page;
- Path - address in the system for which access is configured;
- Authorized user - corresponds to the user role;
- Administrator - corresponds to the admin role;
- Anonymous user - corresponds to the anonym role.
Custom
For login of any user, a special page is used, on which you must enter a login and password (/user):
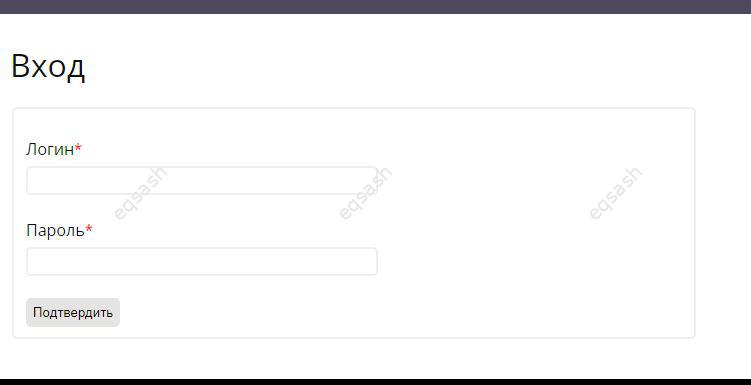
In this way, any previously registered user can get into the system (the user can also be authorized programmatically). The system checks the correctness of the entered data and displays informational messages in case of entering incorrect values. After logging in, the user is taken to a personal page with a link to edit data and other personal information:
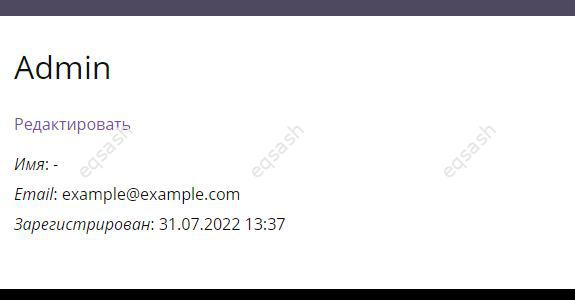
Edit form is shown below (/user/edit/*, where * is the user ID):
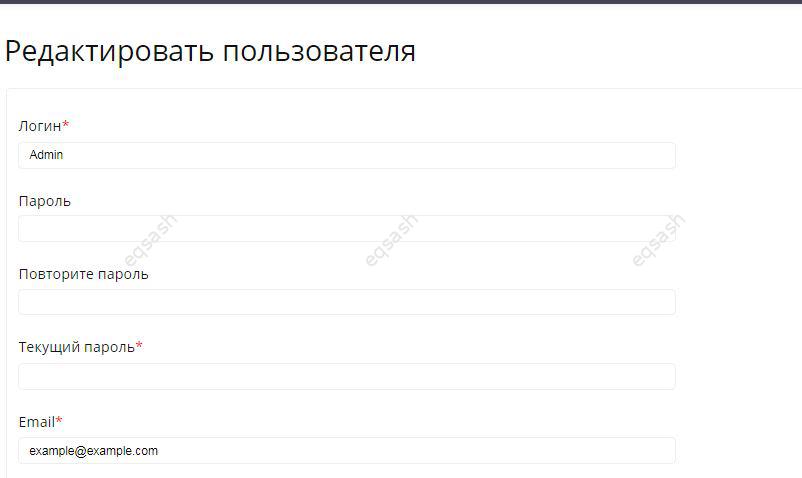
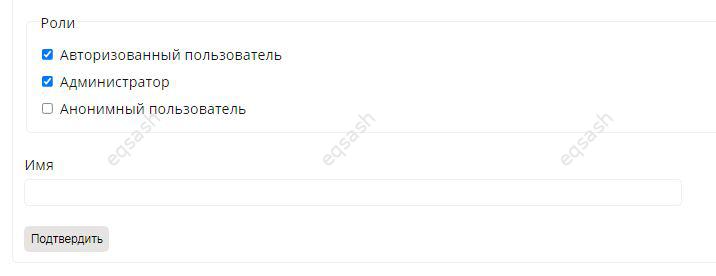
The rest of the form:
- Login - user login in the system;
- Password - user password;
- Repeat password - user password confirmation;
- Current password - to change any data, you must enter the current password;
- Email - user email;
- Roles - user roles on which access to various functionality depends;
- Name - username displayed in the system.
To logout, just click the appropriate link in the upper right menu or use the address - /user/logout.
Registration of new users is carried out on a special page /user/registration (registration may be disabled in the system in some cases). If necessary, links to the registration and login pages can be placed in various places on the site - so that the non-user does not manually enter the necessary addresses. The list of registration form fields may differ, for example, the fields for setting access for the user (/user/registration) are available for the administrator:
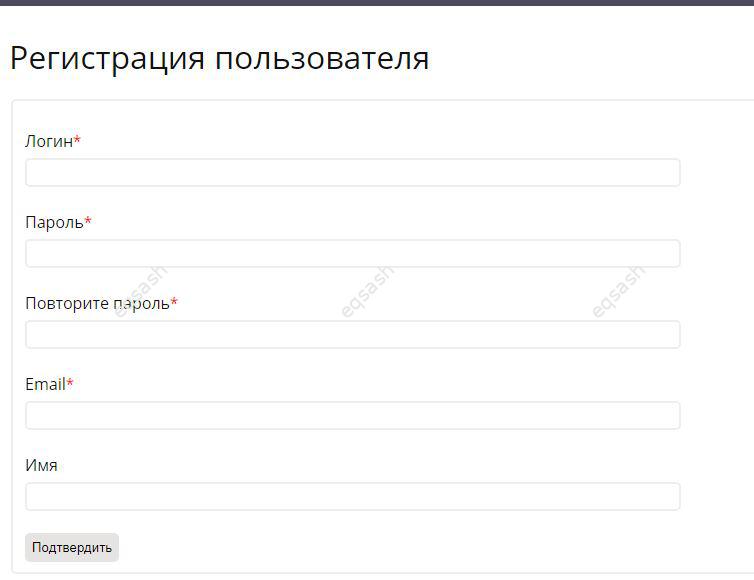
When registering, the user will be required to enter certain data - the form contains almost the same fields as when adding and editing a user. After submitting the form, the process of validating the entered values is started, and the uniqueness of the login and email address is also checked. If incorrect data is entered, a corresponding message will be displayed, otherwise the user will be successfully registered and an email will be sent to him to confirm the email. If the user does not activate the account, a message will be displayed to him when he goes to the personal page about the need to activate.

Account activation or email confirmation is required for all users of the system, unless it is disabled programmatically. If the link is lost, you can request to send the link again - to do this, in your account, you will need to click on the "Activate" link. A confirmation email link will be re-sent - just follow this link and your account will be activated.
Latest articles
- 03.04.24IT / Уроки PHP Уроки простыми словами. Урок 3. Все операторы PHP с примерами, с выводом работы кода на экран.
- 02.04.24IT / Уроки PHP Уроки простыми словами. Урок 2. Типы данных в PHP с примерами.
- 02.04.24IT / Уроки PHP Уроки простыми словами. Урок 1. Коротко о языке веб-программирования PHP. Основы синтаксиса.
- 09.11.23IT / Database Errors when migrating from MySQL 5.6 to 5.7 and how to fix them - database dump import failed with an error or INSERT does not work. Disabling STRICT_TRANS_TABLES strict mode or using IGNORE
- 08.07.22IT / Misc Convert office files DOC, DOCX, DOCM, RTF to DOCX, DOCM, DOC, RTF, PDF, HTML, XML, TXT formats without loss and markup changes
